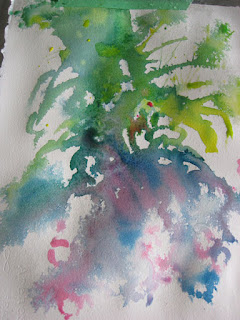
 Stage 1: After the Pour
Negativity Rules!! Yes, working on this picture has been an eye opener for me. I have really been horning my negativity skills. As you know from my previous posts I took the watercolor pouring workshop with Leslie Redhead and these grapes were one of our projects. We did this as a practice before we took on our ‘major picture’ of poppies. (No, you haven’t missed that picture as it isn’t finished yet!)
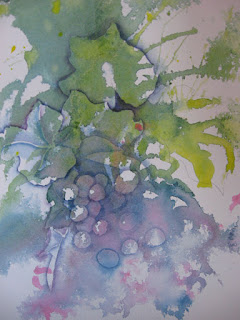
 Stage 2: Starting Negative Painting. Course is over and I am on my own!!
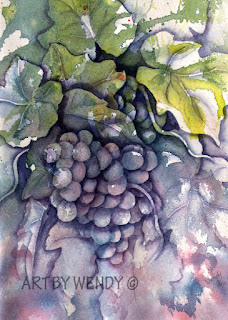
Stage 1 picture shows what it looks like after the pouring and then in stage two I started to define leaves and grapes by stressing the negative rather than the positive aspects of each leaf and grape. At first I really didn’t know where or how to develop things but as I worked I began to understand how it worked. I thought I could move around the picture and you can see isolated grapes as well as clusters in the stage two piece. I quickly learned that you must ‘move out ‘from the defined area so you can build and connect things. Fortunately they are non-staining transparent colors as I was doing lots of scrubbing out and redefining those isolates. I also made the mistake of not taking my colours to the edges of the paper. I took a deep breath, said good bye to my hard work and repoured the bottom half of the picture; I think it turned out great!! Then with a little creative cropping to fit it into a frame, I was suddenly done.

Ready for Picking - 7.5 x 10.5 - Available
(I did it!!!)


